Homebrewed Kombucha
So I started brewing my own kombucha. This post isn't really a tutorial, since
this is only my first brew, but I thought I would document the process (mainly
for myself, to look back on later). I think after a few more brews, I'll make a
tutorial.
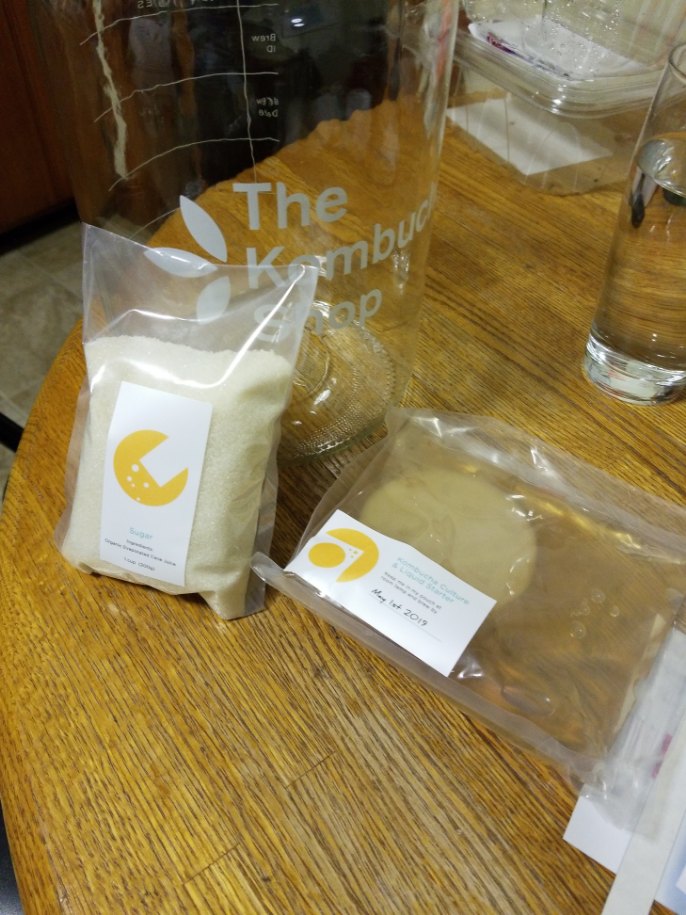
The kit I got is from The Kombucha Shop and
it is amazing. After the initial cost, the cost of a gallon brew is about $1.50.
Compare that to $4-$5 per 16 oz at a grocery store. I also got the custom
heating wrap from the shop.
Background
Probiotics good. That's the reason.
Yes, it is an acquired taste. But yes, it is amazing after you acquire that taste. I started drinking a few bottles a week, refilling my bottles at kombucha tap stations at local grocery stores. In January, Jeffrey told me about a lady he saw on Shark Tank selling her own, homemade brew-at-home kombucha kits (he was really impressed by her business, apparently she was the most put-together businessman/woman he had ever seen on Shark Tank), and that's the moment I realized I wanted to be a homebrewer of kombucha! I ordered her kit, and started brewing. I decided to document the process, because it's neat and I'm quite proud of my work so far.
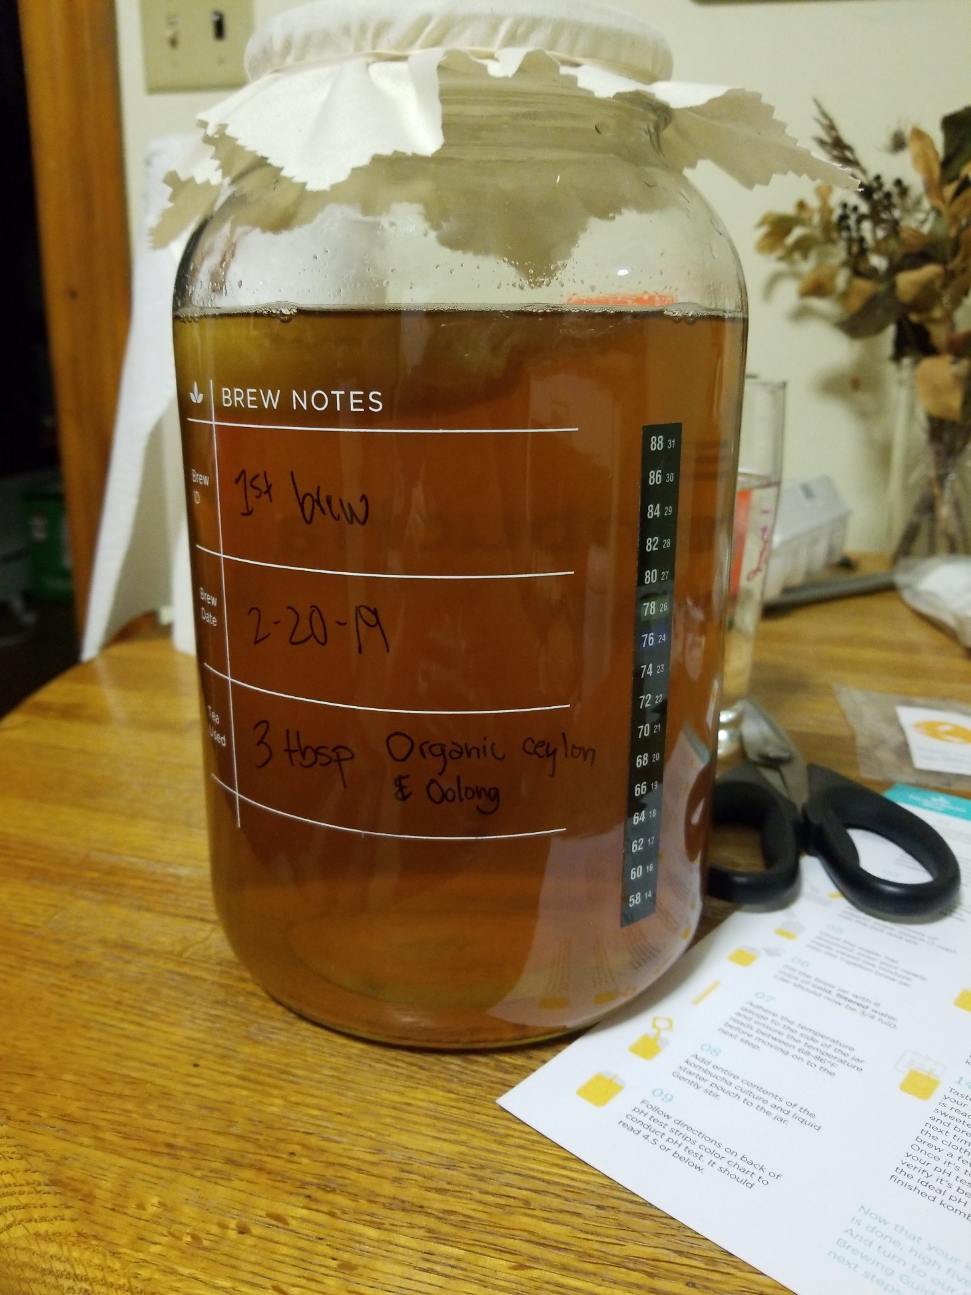
Day 1
I made sweet tea with the ingredients from the kit. Half oolong, half ceylon, with organic cane sugar. The sugar is for the bacteria, so only about 8 grams will remain per 16 ounces at the end of fermentation.
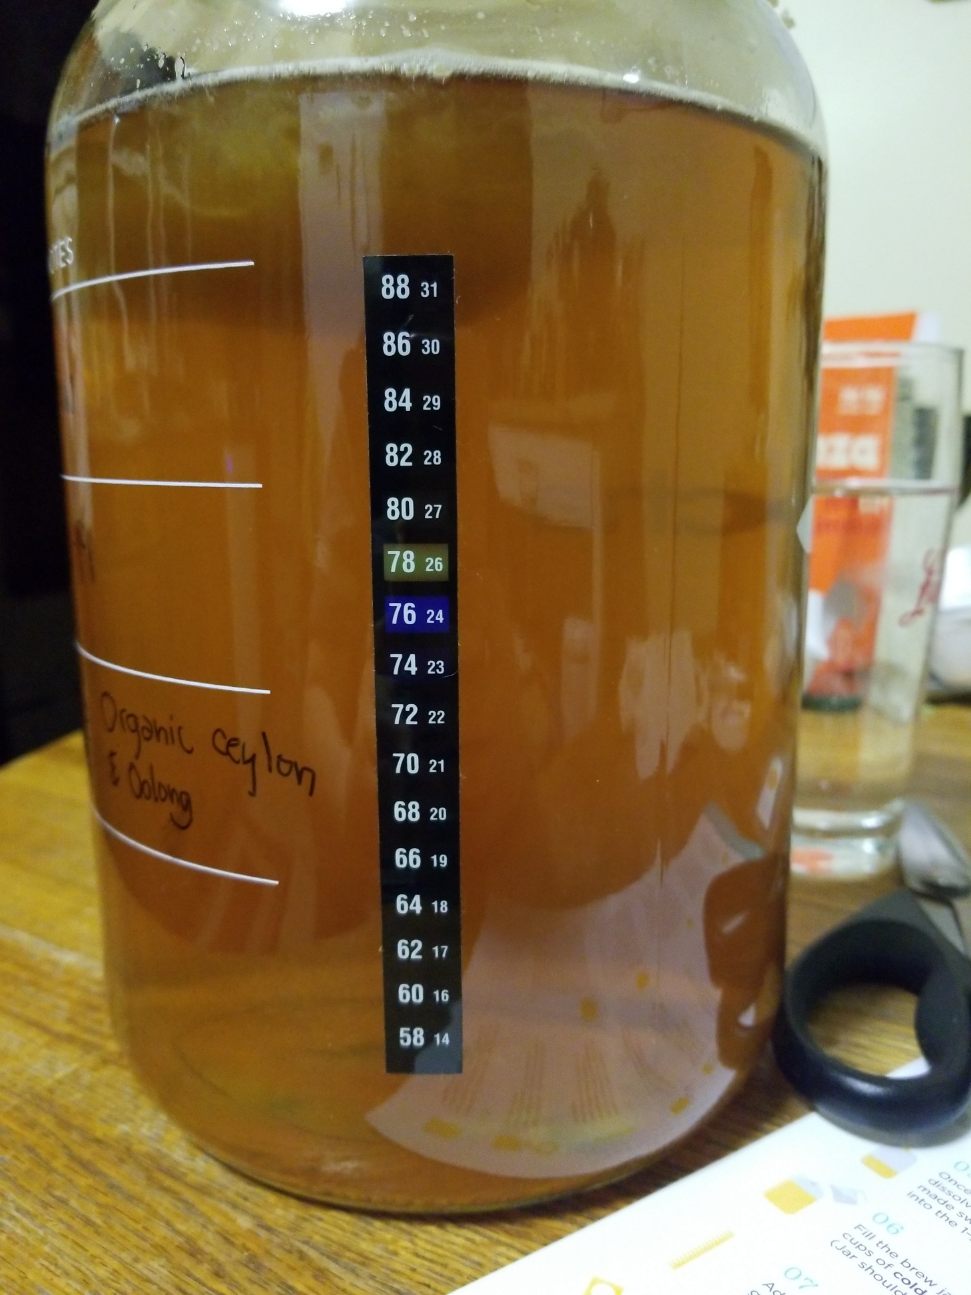
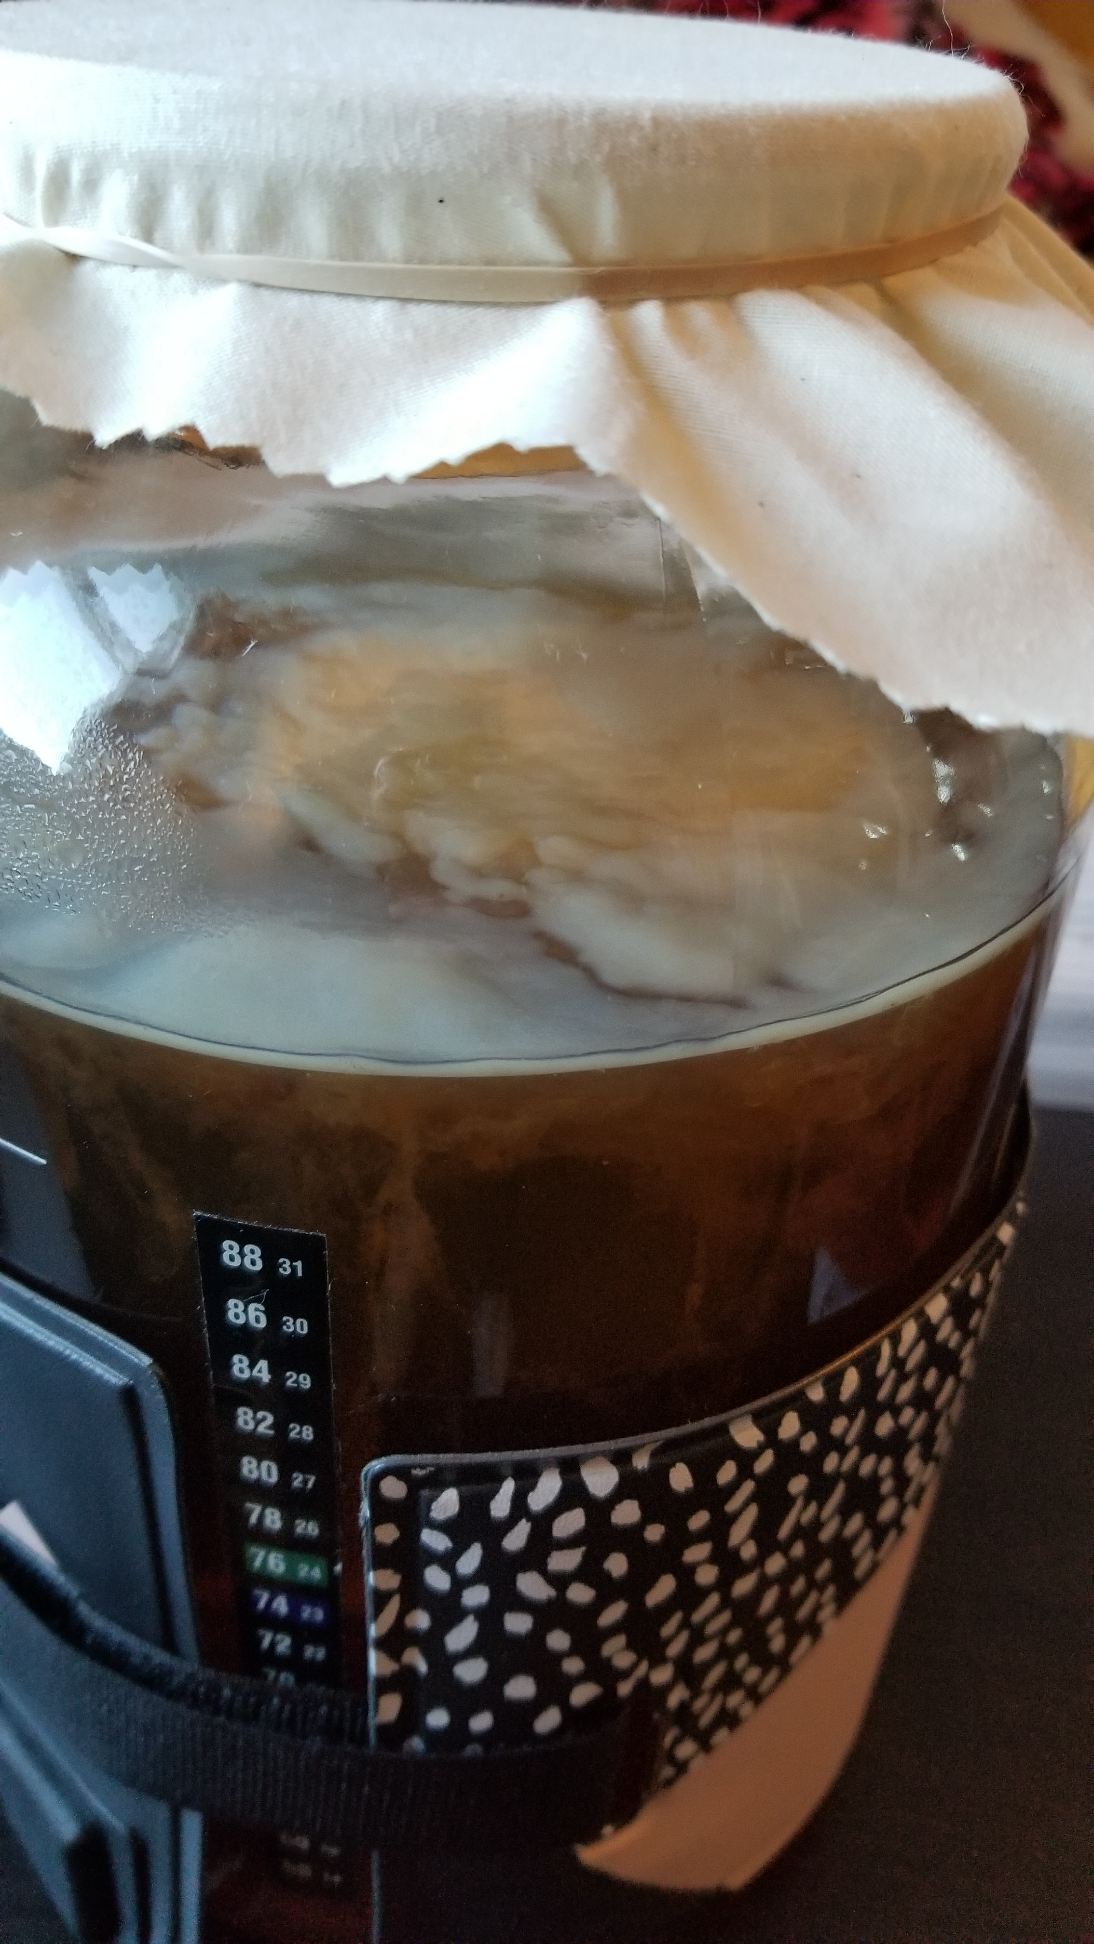
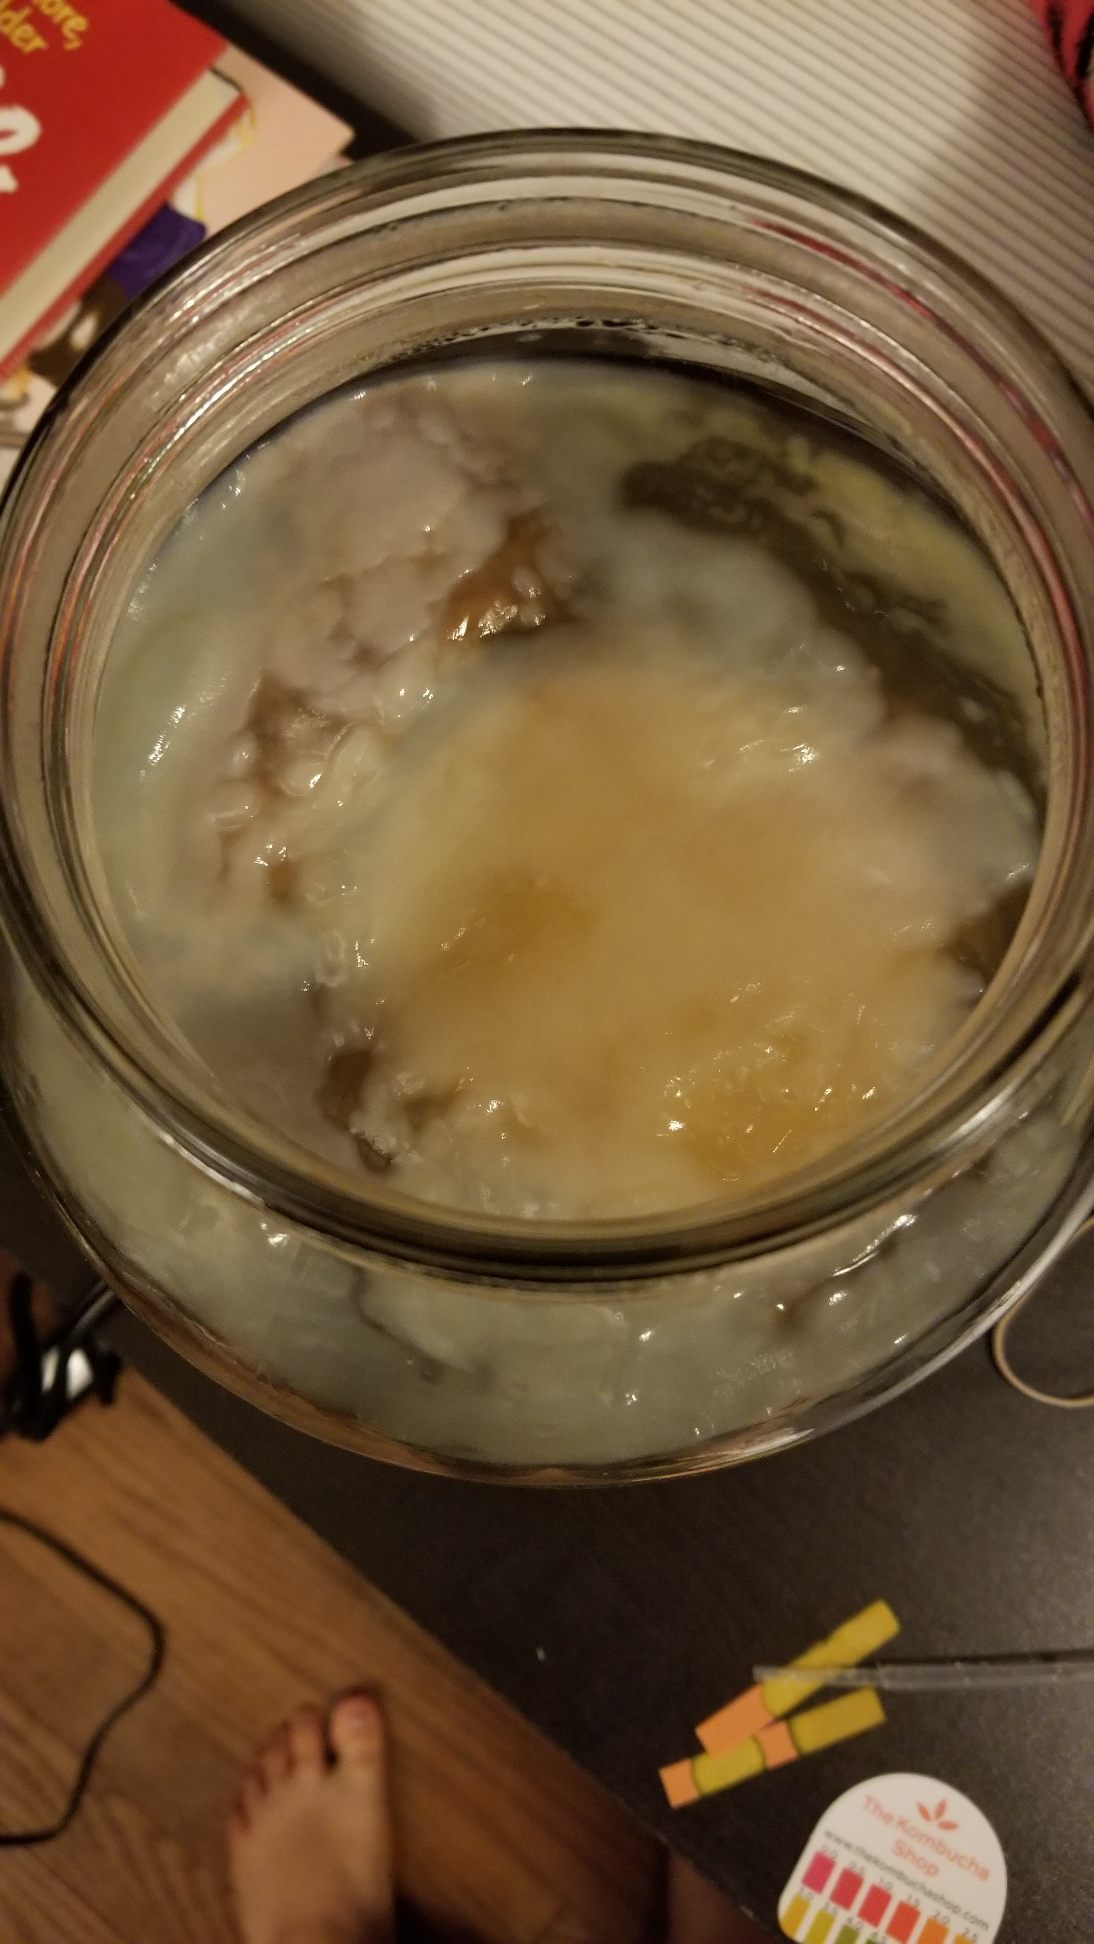
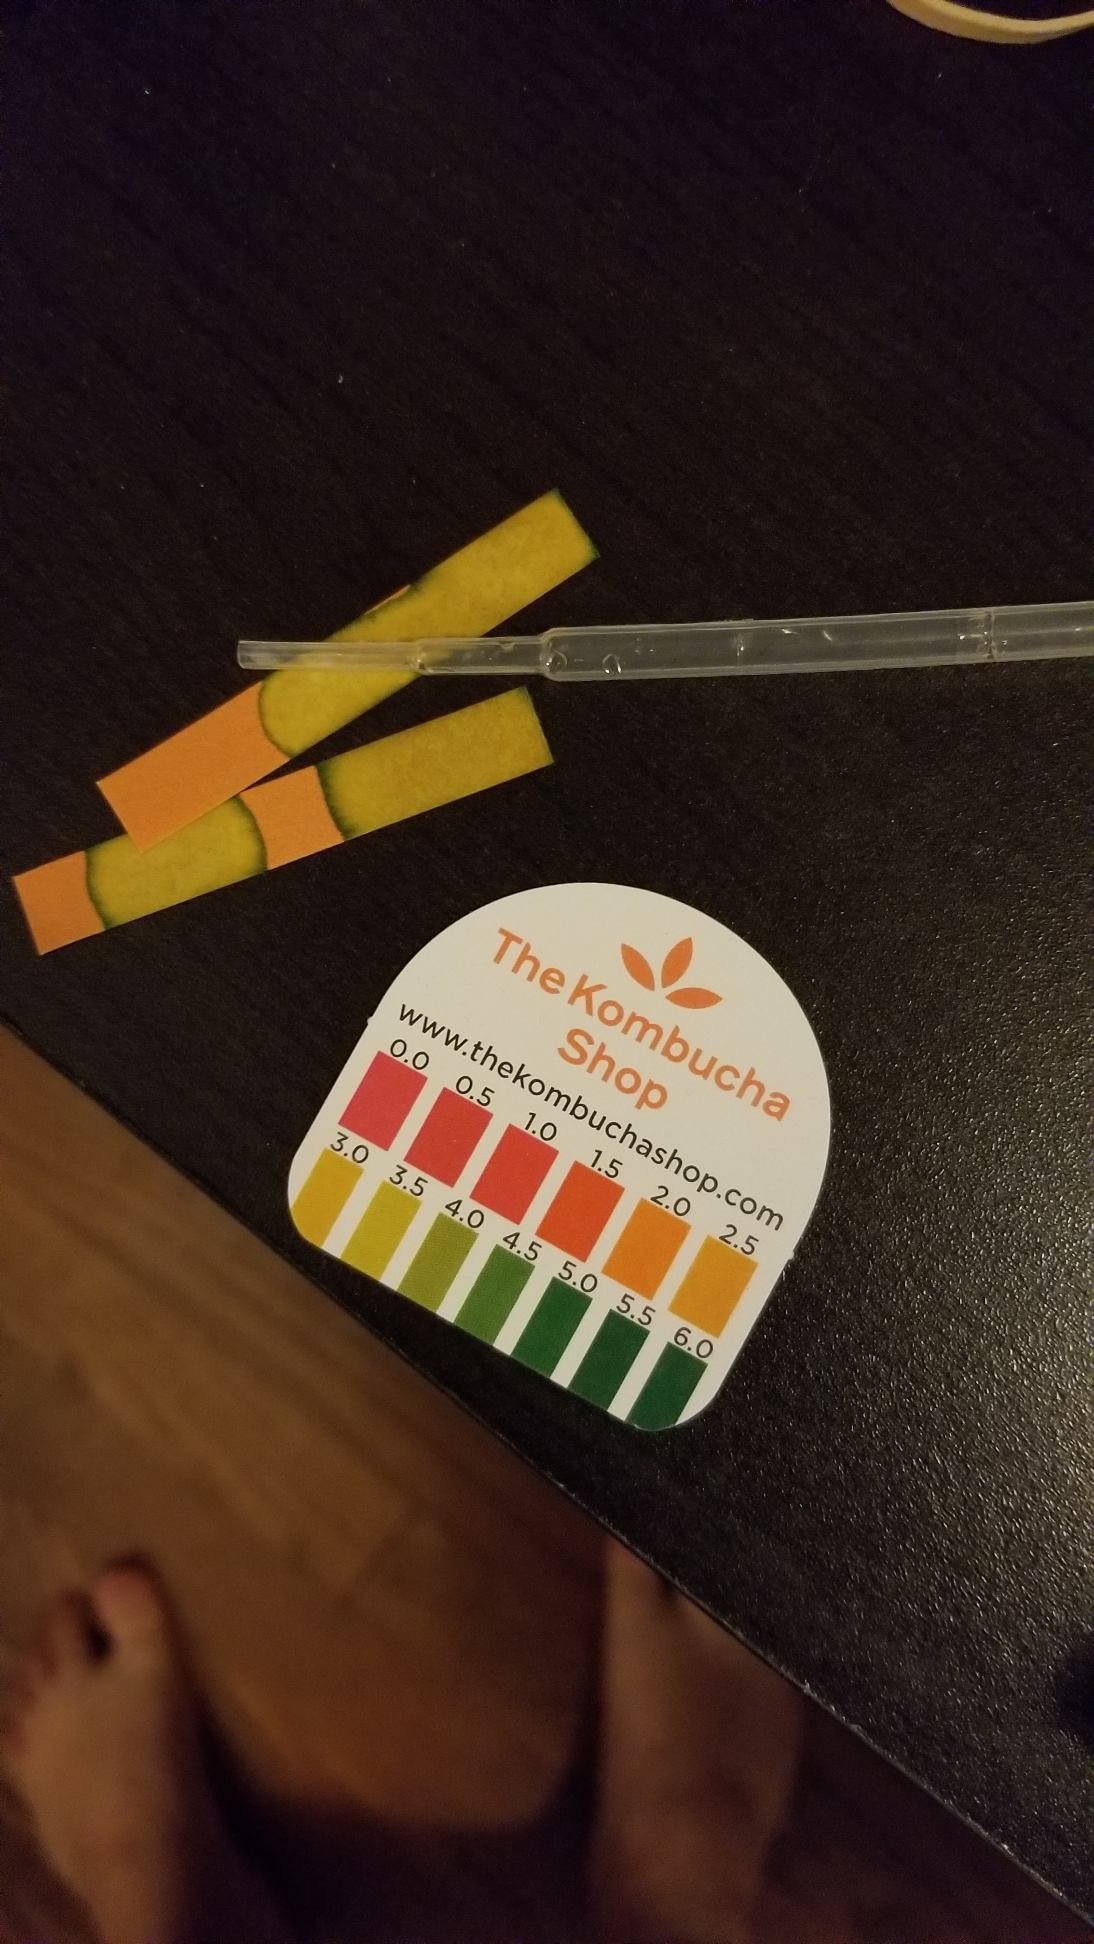
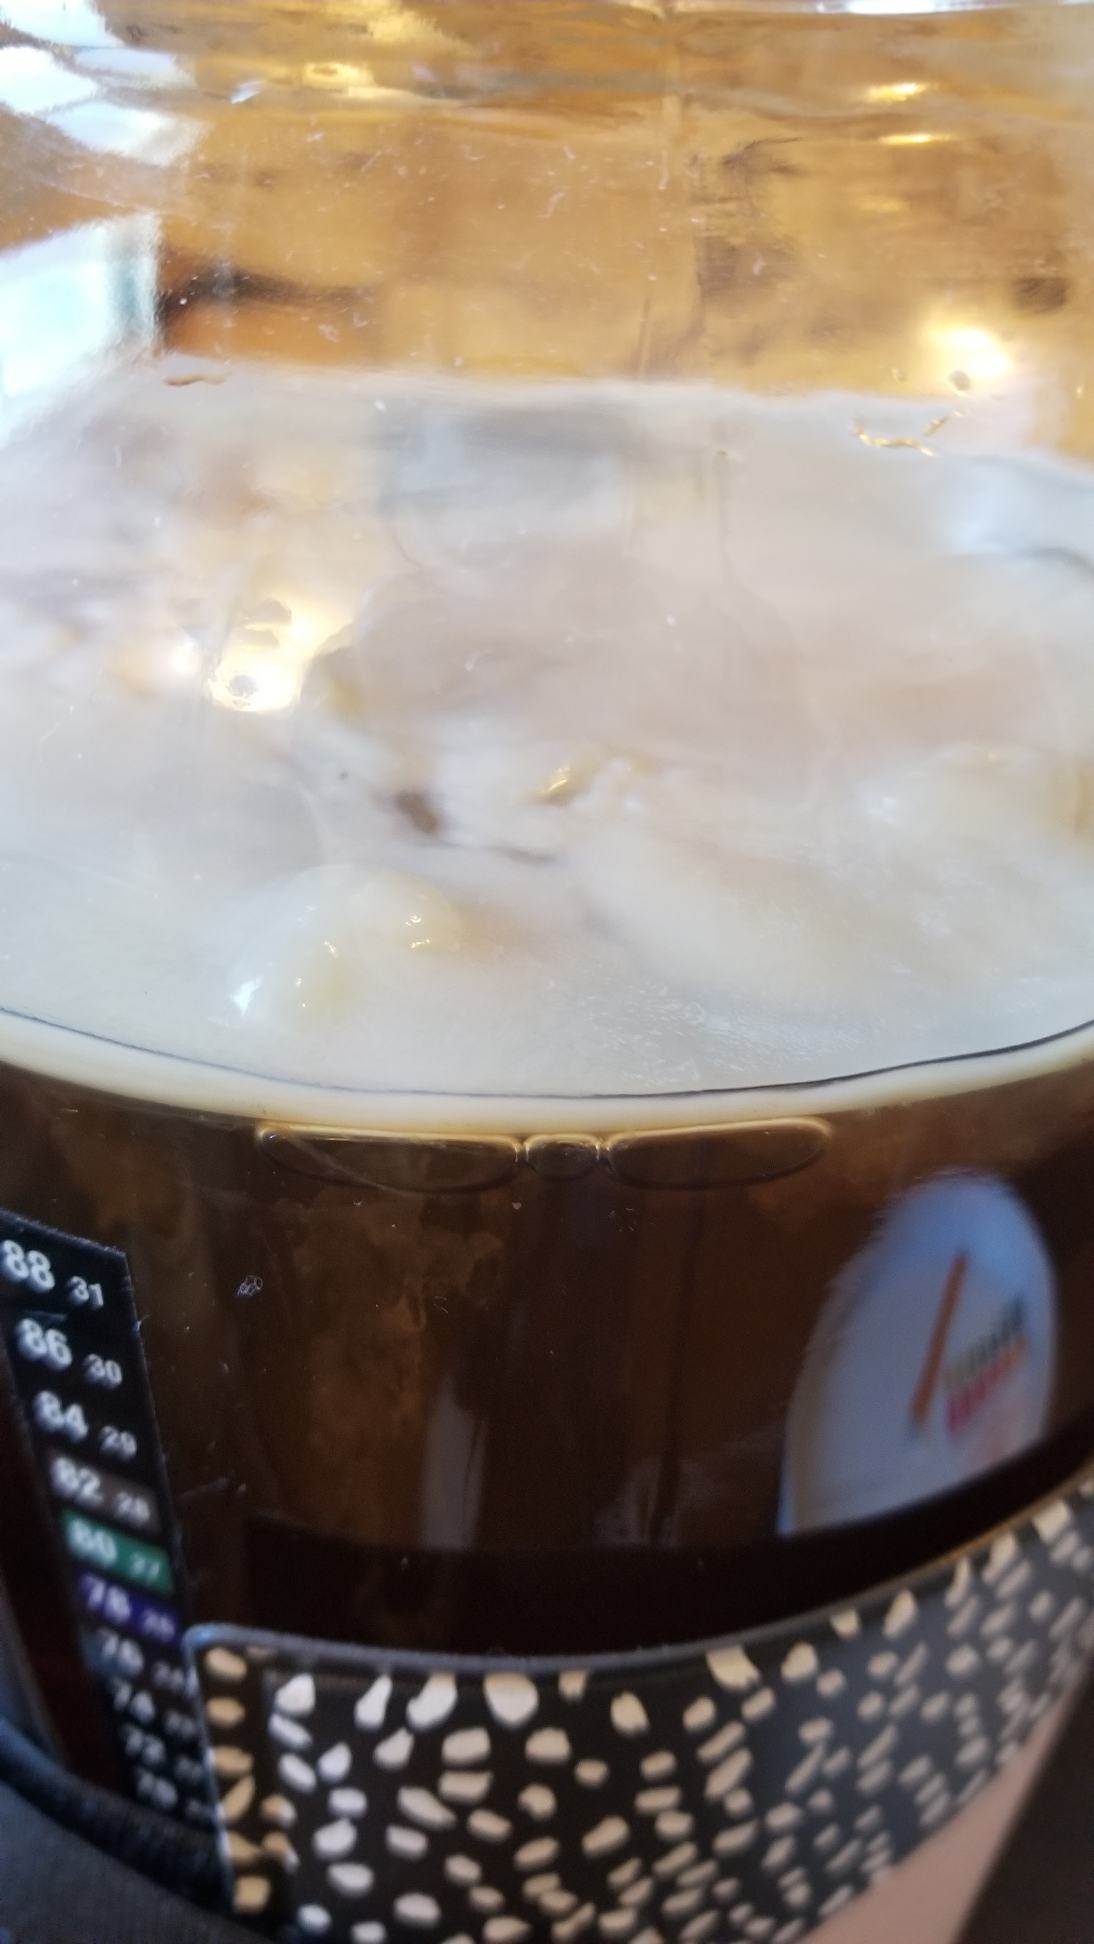
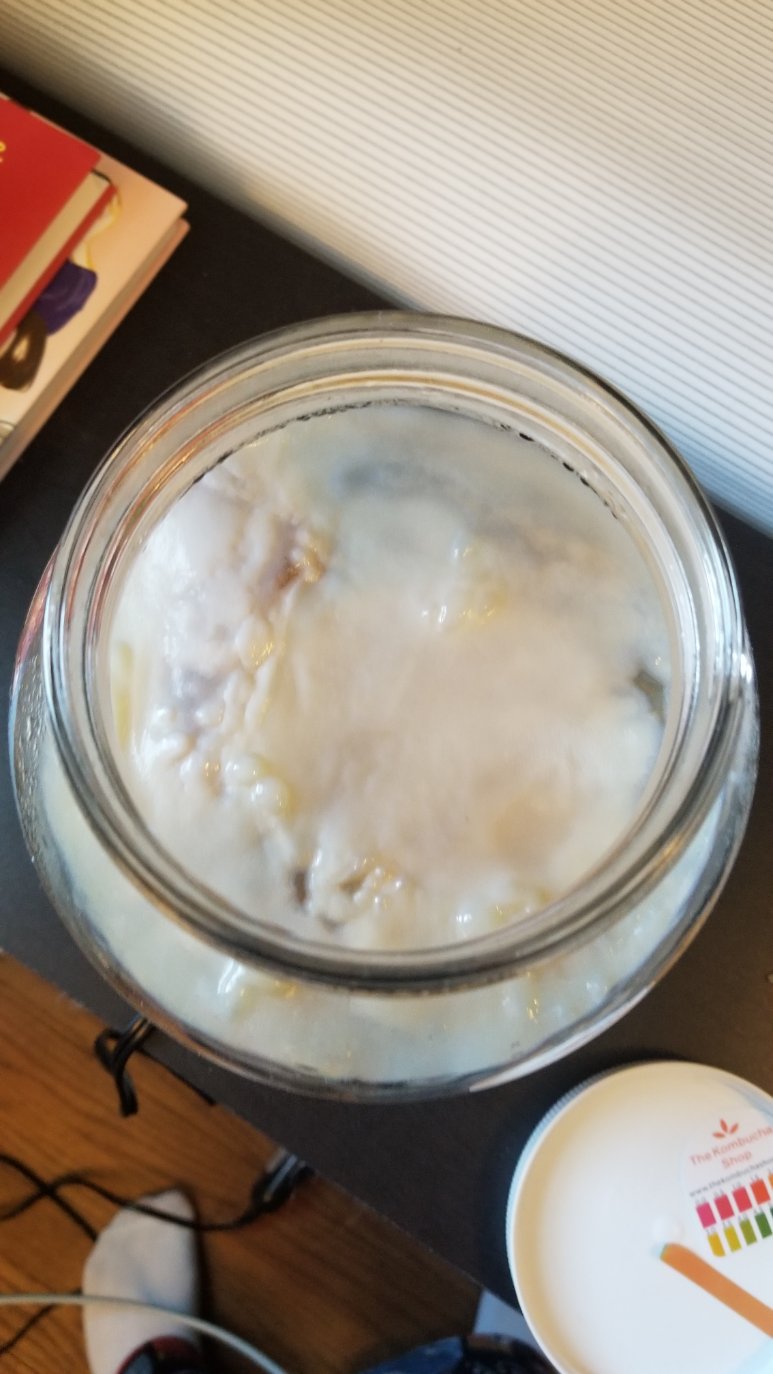
Day 7
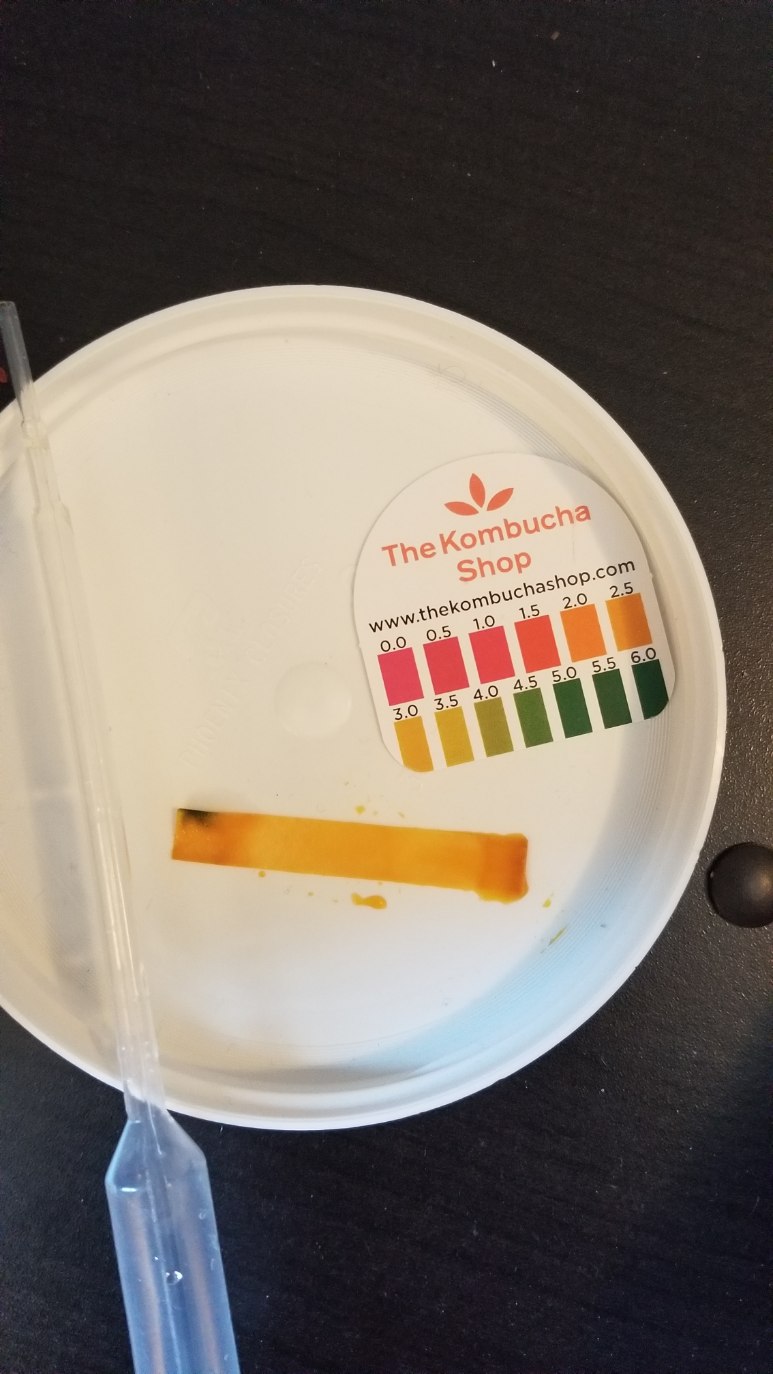
My kombucha sat in my room, undisturbed at 76 F, for 7 days. It's important to keep in the high 70s; too cold and it will grow mold, too warm and the yeasts will overpopulate. You can see the yeast in the middle of the jar (the stringy-looking stuff), and the new culture forming at the top. The yellow circle is the starter scoby and the clear, white, and orange layer on top is my new culture. It looks like there are gaps or holes in the culture from the pictures, but actually the whole top of the liquid is a solid, gel-like culture, some of it is just transparent. I took off the cloth for the first time and wow! did it smell amazing. I tested the pH, which should be between 2.5 and 3.5 for kombucha, and gave it a taste test. It's still too sweet for my liking, so I'm letting it ferment for a few more days.
Day 11
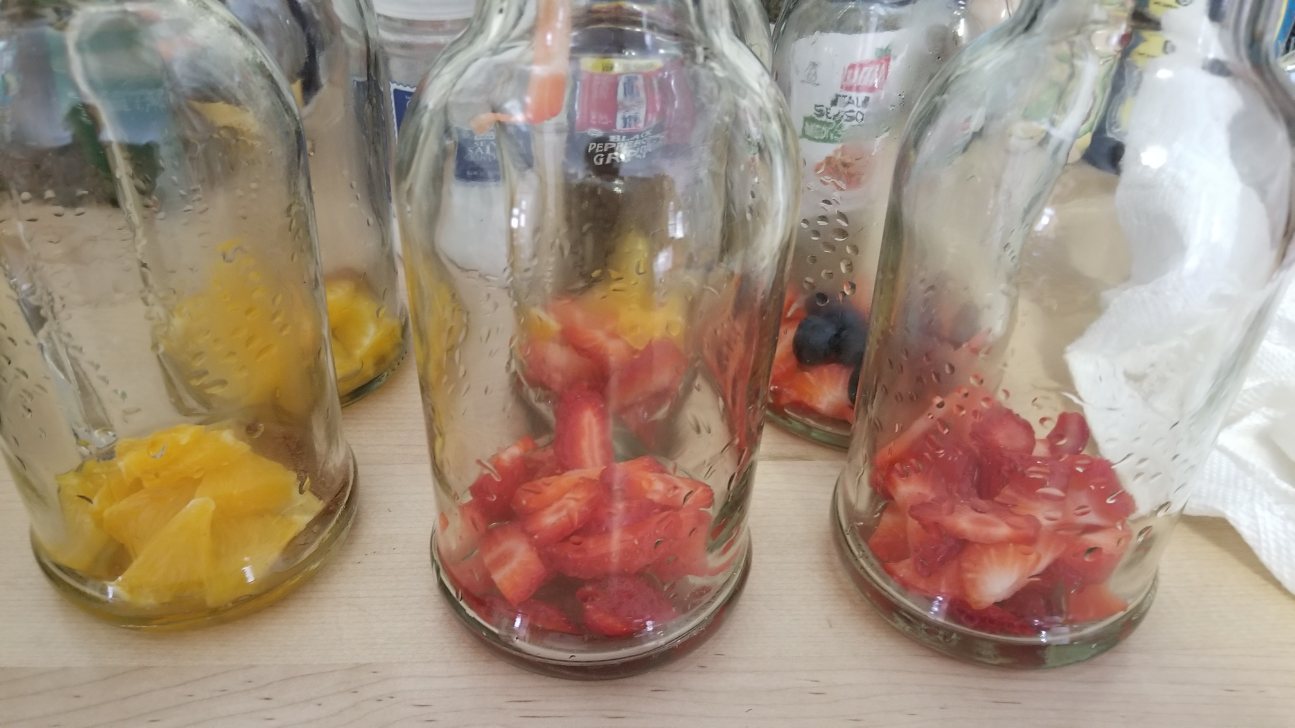
I've been testing the pH and taste of the kombucha every day since day 7, waiting for it to be tart enough for my liking, and to ensure that the pH stays in a good range. If you let it ferment for too long, it'll become straight vinegar. Today is the day! The pH is good and the booch is plenty tart, so I declared the first fermentation done. I bottled up the kombucha with some fresh fruit and spices and started the second fermentation. I removed the cultures and left some kombucha behind to become the starter liquid for the next batch, but the rest was bottled.
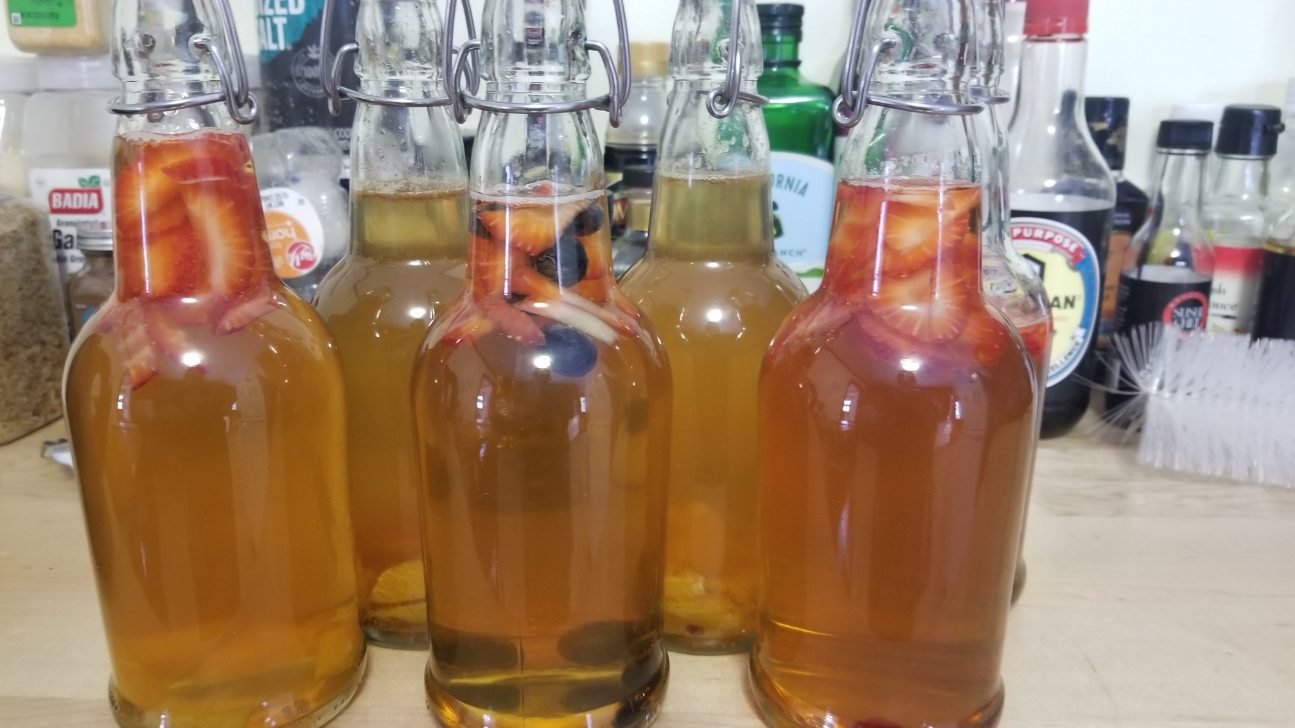
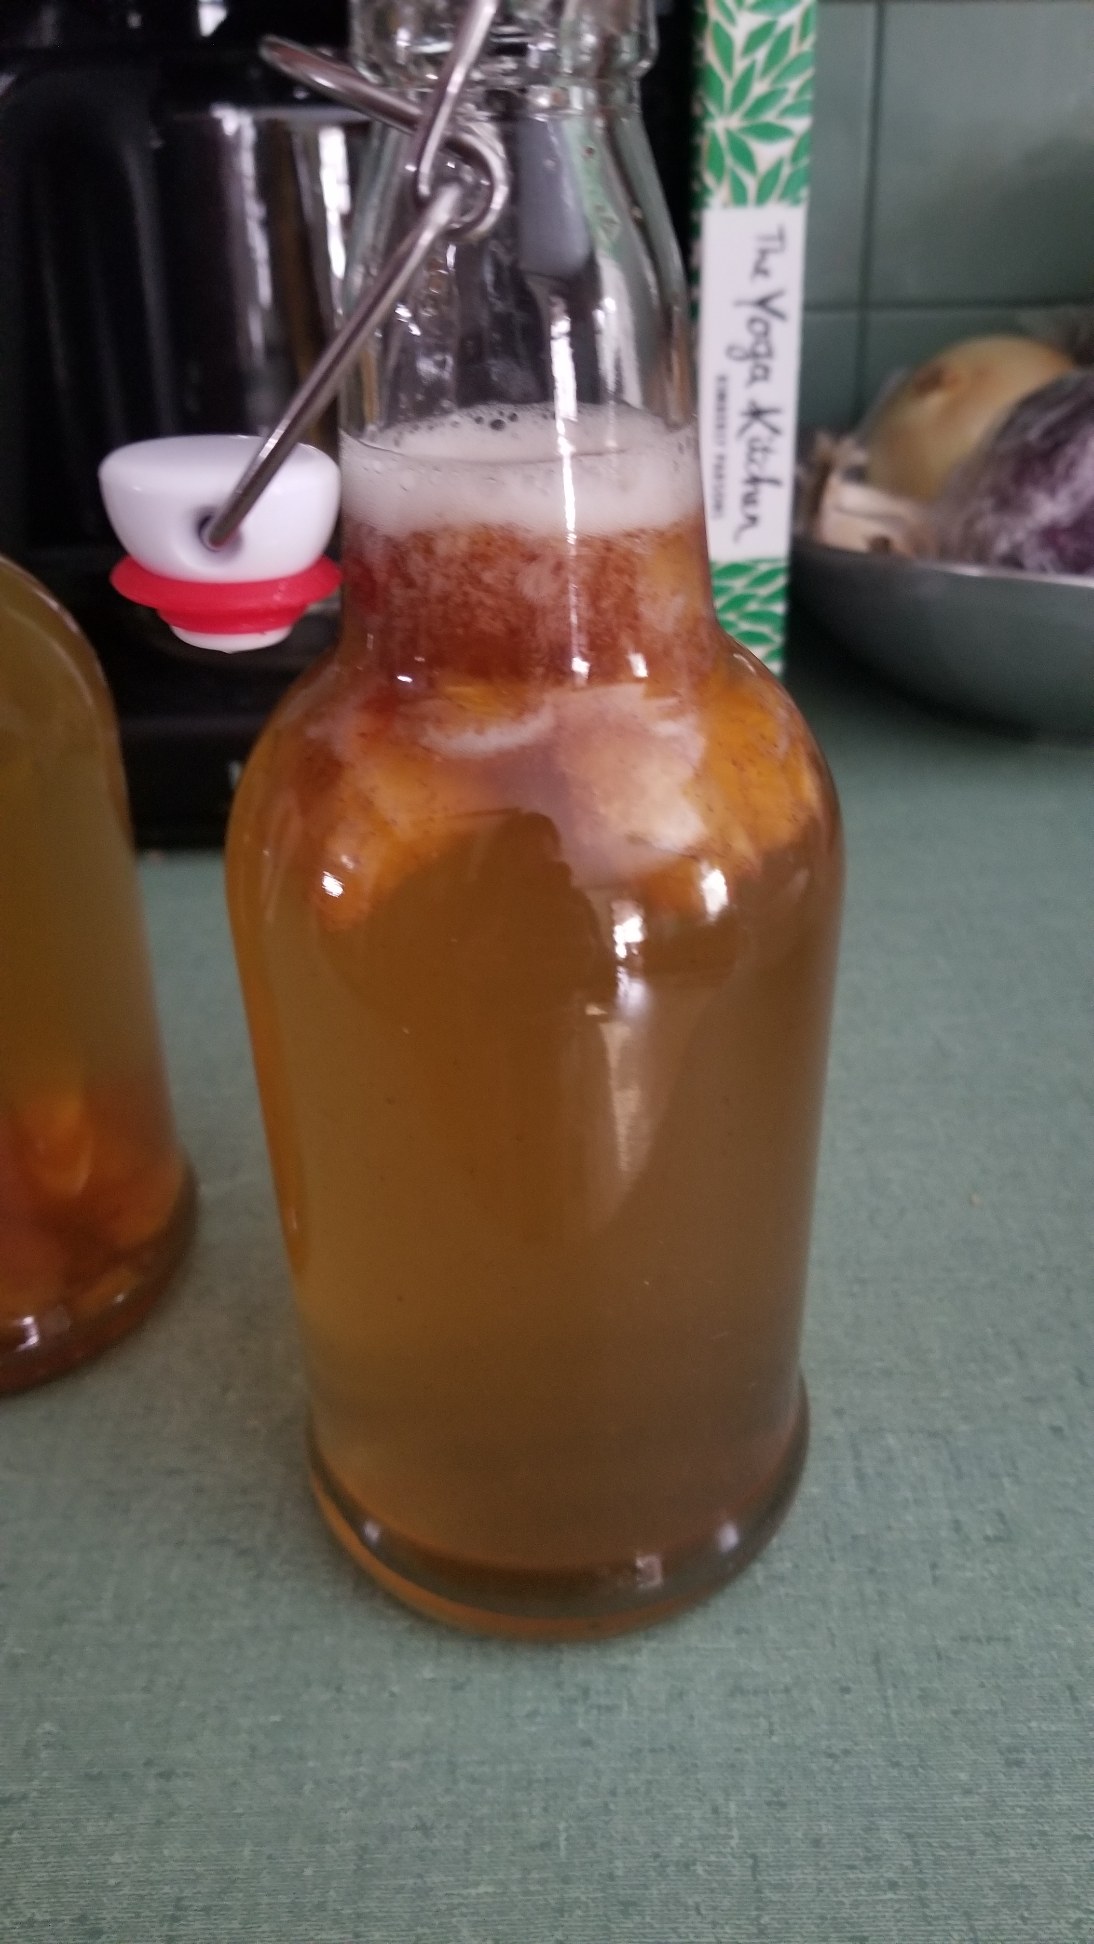
I did a mix of strawberry, blueberry, orange, and warm spices. There wasn't enough kombucha to fill the last bottle, so it wouldn't get properly carbonated, so I drank that bottle instead of letting go through a second fermentation. Verdict: delicious, even without second fermentation carbonation.
The second fermentation will go on between two and four days, and possibly longer if I want the kombucha to be more carbonated. However, after 4 days the bottles require burping, else they'll explode. The yeast is turning the sugars from the fruit into CO2, which is what causes the carbonation.
Day 14
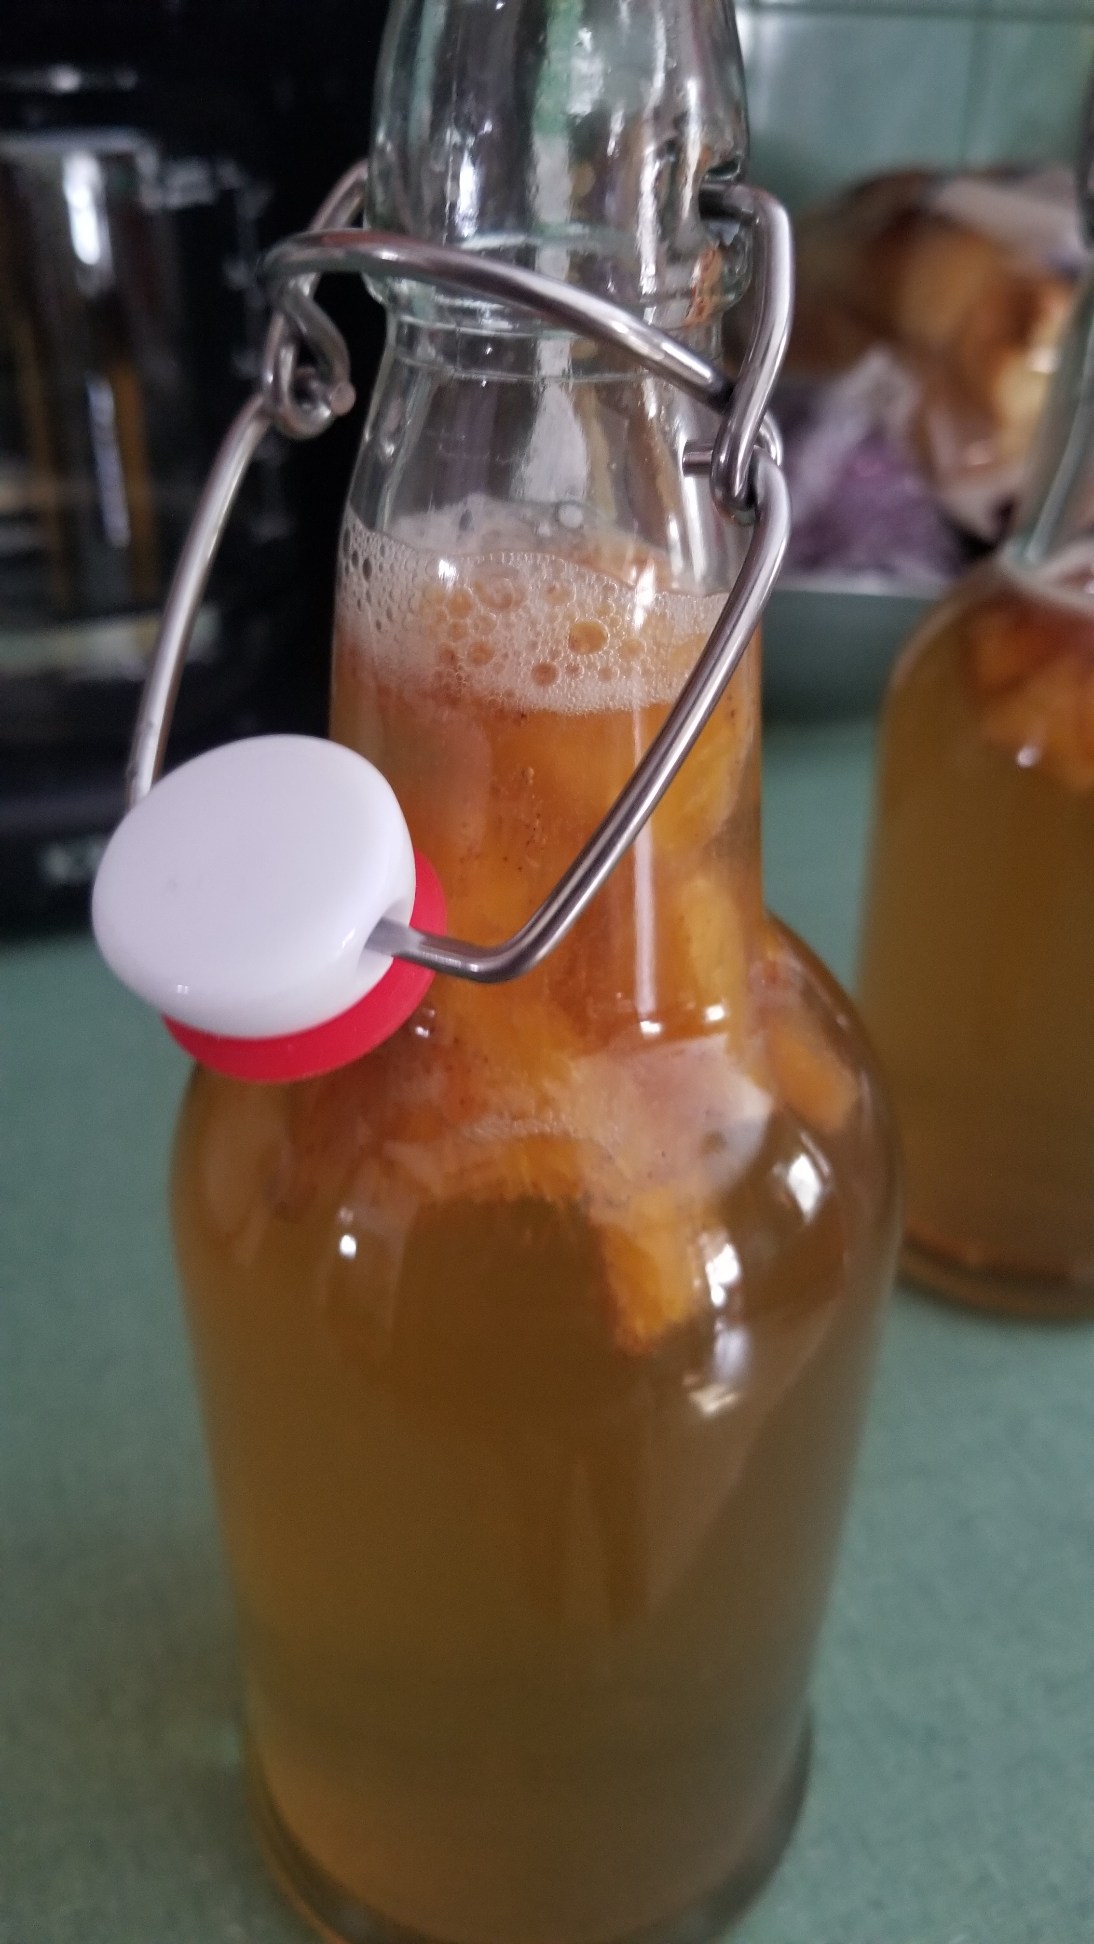
The second fermentation has finished, and I am ecstatic.
I tried the strawberry ones first and was bummed to see they weren't super
carbonated. They were still super yummy, though. I put them in the fridge and
then tried the orange ones... wow! Just look at that carbonation! I did that!
Natural carbonation! The orange ones are way more carbonated because oranges
have double the amount of sugar in them than strawberries. I'll know to
supplement my strawberry kombucha with peaches or something like that in the
future.
Anyways, this is the official end of my first kombucha brewing experience!
P.S. the amount of times I've said "amazing" in this post makes me feel like I'm on The Bachelor.